I am installing Zend Server CE 6.0.1 with PHP 5.4 which at this time was the latest and greatest hotness I could afford. Let's start by logging into the VM via ssh. Since I am sure you followed the instructions for installing CentOS from my last post I will not go over how you actually connect to your VM with ssh.
Install Zend Server CE
First we need to add the repo location for grabbing Zend Server.
Edit the following:
vi /etc/yum.repos.d/zend.repoInsert the following into the file:
[Zend]
name=Zend Server
baseurl=http://repos.zend.com/zend-server/6.0/rpm/$basearch
enabled=1
gpgcheck=1
gpgkey=http://repos.zend.com/zend.key


[Zend_noarch]
name=Zend Server - noarch
baseurl=http://repos.zend.com/zend-server/6.0/rpm/noarch
enabled=1
gpgcheck=1
gpgkey=http://repos.zend.com/zend.key
Now run the install:
yum install zend-server-php-5.4Wait for it... Zend Server is installed, yippee! So let's fire up the admin UI.
http://[vm_ip_address]:10081OH NO!

So, I guess we still need some configuration for CentOS to let us in.
Run the following in your terminal:
iptables -I INPUT 5 -p tcp --dport 10081 -j ACCEPT
iptables -I INPUT 5 -p tcp --dport 443 -j ACCEPT
iptables -I INPUT 5 -p tcp --dport 80 -j ACCEPT
iptables -I INPUT 5 -p tcp --dport 21 -j ACCEPT
iptables -I INPUT 5 -p tcp --dport 22 -j ACCEPT
iptables -L --line-numbers
/etc/init.d/iptables save
/etc/init.d/iptables restart
Now let's try that again.
http://[vm_ip_address]:10081SUCCESS!

- License Agreement: Agree (otherwise I guess this was pointless).
- Launch Type: Development (That is what I chose, you may try anything you want though I guess).
- User Passwords: password (Whatever floats your boat I guess).
- Summary: Notice the license type, we will change that shortly (optional).

Optional - Change The License
To obtain the free Zend Server CE license key go to http://www.zend.com/products/server/license/product?edition=FREE. If you don't already have a login for Zend, go ahead and sign up.
Log into Zend Server using the admin user and password.
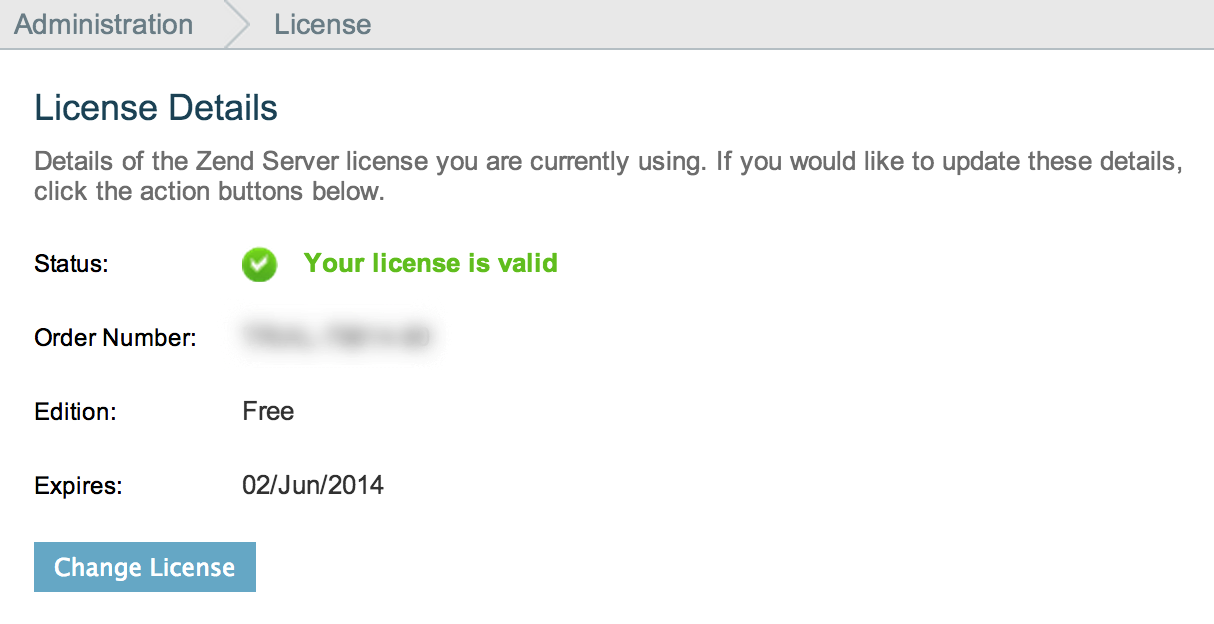
Go to the Administration tab and click on license.

Click on the Change License button.

Enter the details from the license page to apply the Community Edition license.

Once the details have been entered successfully you will see the confirmation of the features you will be missing out on in the Community Edition, not a huge loss in a development environment IMHO.

Click the Save License button and Zend Server should restart.

The confirmation window will appear, Continue using Zend Server...

Now your license details should reflect the Free edition (CE).
Zend Server is now installed and ready to roll. In the next part I will go over configuring Apache for the development environment.
How i can install a Community Edition of Zend server in my Cent OS. I cannot afford a licensed version.
ReplyDelete